Link to Git repository: https://github.com/urbanspr1nter/dst2png
Introduction
My girlfriend works a lot with embroidery and one of her never-ending problems in delivery is that it is difficult to create a view a DST file without paying someone else to create the DST and being physically be there to see it.
Recently, to help her out, I decided to study the DST file format and wrote a neat little tool to convert a DST file to a PNG raster image file to be viewed on any computer.
A DST file is basically the proprietary format created by the embroidery machine company, Tajima. These embroidery machines read in a DST file through some sort of media and mechanically embroiders apparel through the information presented by this DST file. It is worth noting that these embroidery machines are extremely expensive and so is the software to read and write DSTs. As a result, not many hobbyists can really afford to embroider on their own without external help.
It is worth noting that a DST file is not an image file but a vector file. The DST file contains a list of deltas based off of X,Y coordinates. A bonus is that the DST also contains some extra information regarding the size and the starting points for the embroidery.
Learning the Format
The initial challenge of writing the converter was to figure out how the data was laid out. I found a nice website that detailed the binary layout of the file: DST Spec. Essentially, there are a few rules we have to follow:
- Design information starts at an offset of 0x200 (512 bytes)
- Each stitch is three bytes. For example, 0x112233.
- The first two bytes and part of the third byte will hold the x and y data of the stitch.
- ALL DST files will end with the byte triplet of 0x0000F3.
- For byte 3, bits 0, 1 on the LSB for example, 0b0000 0011 will be set for ALL stitches.
- For byte 3, bit 7 will signal a “JUMP” stitch. For example, 0b1000 0000.
- For byte 3, if bit 6 AND 7 are set, it will signal a COLOR change. For example, 0b1100 0000.
So how do we determine stitch data with bytes 1, 2 and some of 3? Doing the same thing, we will take each byte and look at each bit. The deltas of the X and Y coordinates starting at (0, 0) are detailed below going from bit 7 to 0:
Byte 1: (y + 1), (y - 1), (y + 9), (y - 9), (x - 9), (x + 9), (x - 1), (x + 1)
Byte 2: (y + 3), (y - 3), (y + 27), (y - 27), (x - 27), (x + 27), (x - 3), (x + 3)
Byte 3: JUMP, COLOR, (y + 81), (y - 81), (x - 81), (x + 81), 1, 1
The stitch data is interpreted by adding the starting X, Y coordinate and accumulating the result based on the deltas specified by the respective bits being turned off or on. So using the same example as the specification that was linked above:
Byte triplet: 0xA31223
Binary Representation: 0b1010 1000 0001 0010 0010 0011
Result: y + 64, x - 12
Not a jump stitch.
Not a color change
After reading this specification, I had enough info to basically interpret the binary file. After firing a hex editor, I was presented with something like this:
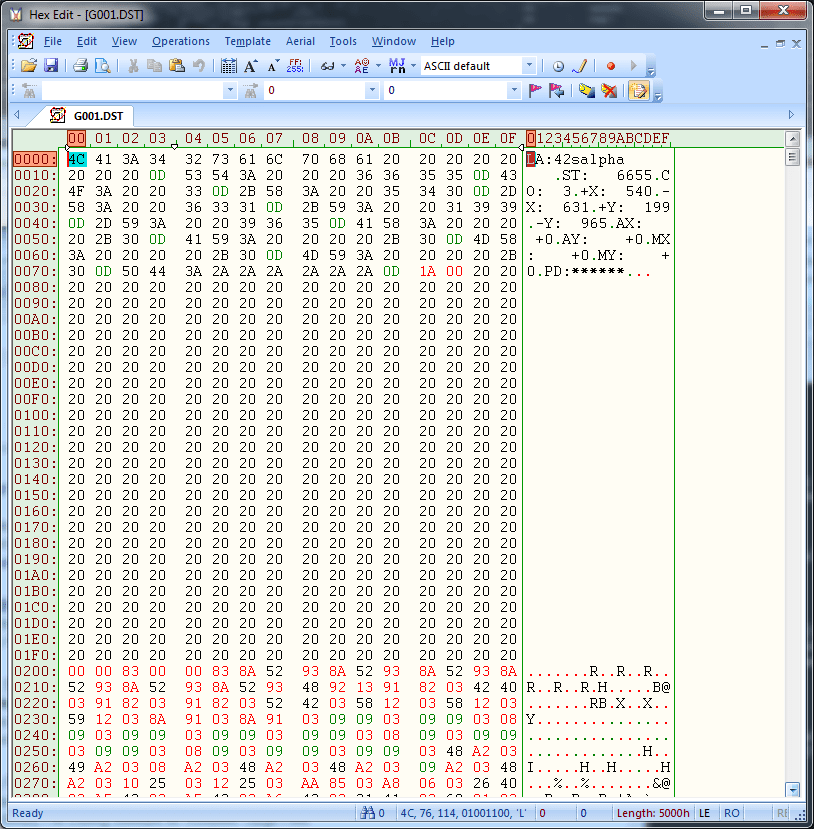
Prior to this project, I really had no experience in dissecting a binary file in complete hexadecimal before. But I willed through it with tons of patience, and at the end, I felt like a hacker. :)
Basically my method of translation was to start at byte offset 512 and slowly work my way through manually figuring out the stitch data by converting first the hexadecimal values to binary and then to decimal values. After figuring out the deltas and using the above example as reference, I was able to construct a simple program to loop through every byte triplet and perform the translation programmatically. A snippet of the translation code is detailed below:
public int GetDeltaY(byte b0, byte b1, byte b2)
{
int deltaY = 0;
deltaY = deltaY + (((b0 >> 7) & 1) * 1);
deltaY = deltaY + (((b0 >> 6) & 1) * (-1));
deltaY = deltaY + (((b0 >> 5) & 1) * 9);
deltaY = deltaY + (((b0 >> 4) & 1) * (-9));
deltaY = deltaY + (((b1 >> 7) & 1) * 3);
deltaY = deltaY + (((b1 >> 6) & 1) * (-3));
deltaY = deltaY + (((b1 >> 5) & 1) * 27);
deltaY = deltaY + (((b1 >> 4) & 1) * (-27));
deltaY = deltaY + (((b2 >> 5) & 1) * 81);
deltaY = deltaY + (((b2 >> 4) & 1) * (-81));
return deltaY;
}
public int GetDeltaX(byte b0, byte b1, byte b2)
{
int deltaX = 0;
deltaX = deltaX + (((b0 >> 3) & 1) * (-9));
deltaX = deltaX + (((b0 >> 2) & 1) * 9);
deltaX = deltaX + (((b0 >> 1) & 1) * (-1));
deltaX = deltaX + (((b0 >> 0) & 1) * 1);
deltaX = deltaX + (((b1 >> 3) & 1) * (-27));
deltaX = deltaX + (((b1 >> 2) & 1) * 27);
deltaX = deltaX + (((b1 >> 1) & 1) * (-3));
deltaX = deltaX + (((b1 >> 0) & 1) * 3);
deltaX = deltaX + (((b2 >> 3) & 1) * (-81));
deltaX = deltaX + (((b2 >> 2) & 1) * 81);
return deltaX;
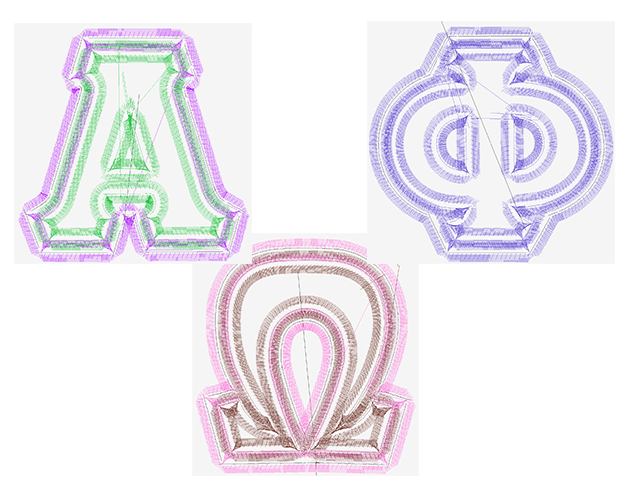
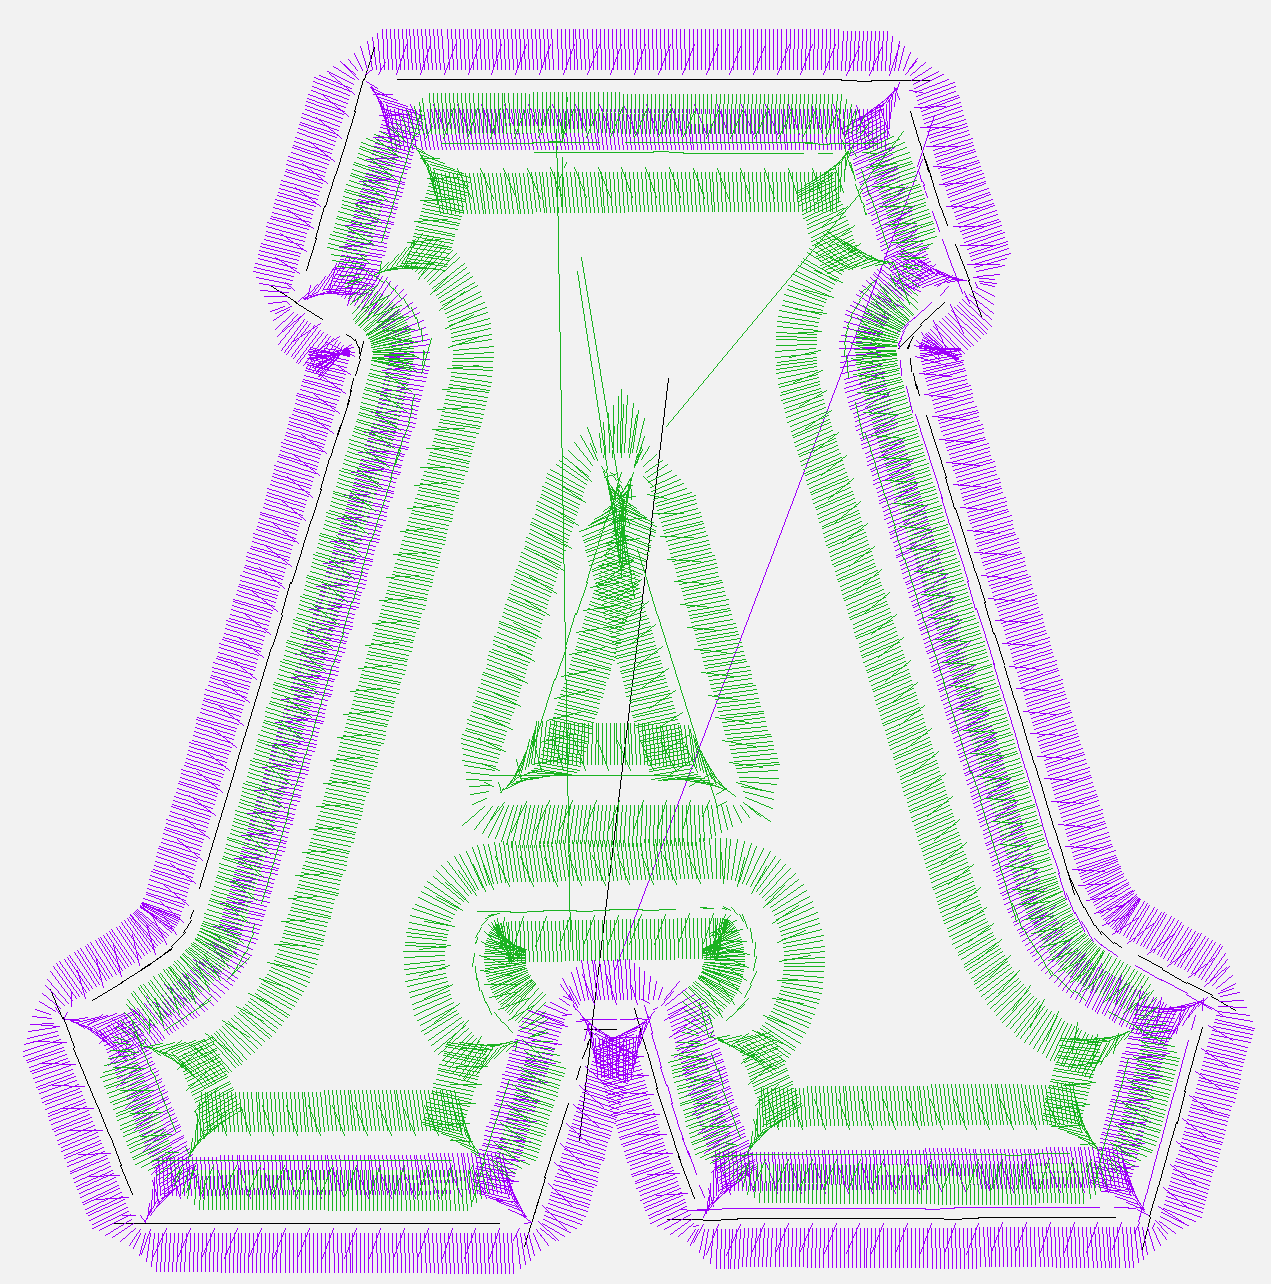
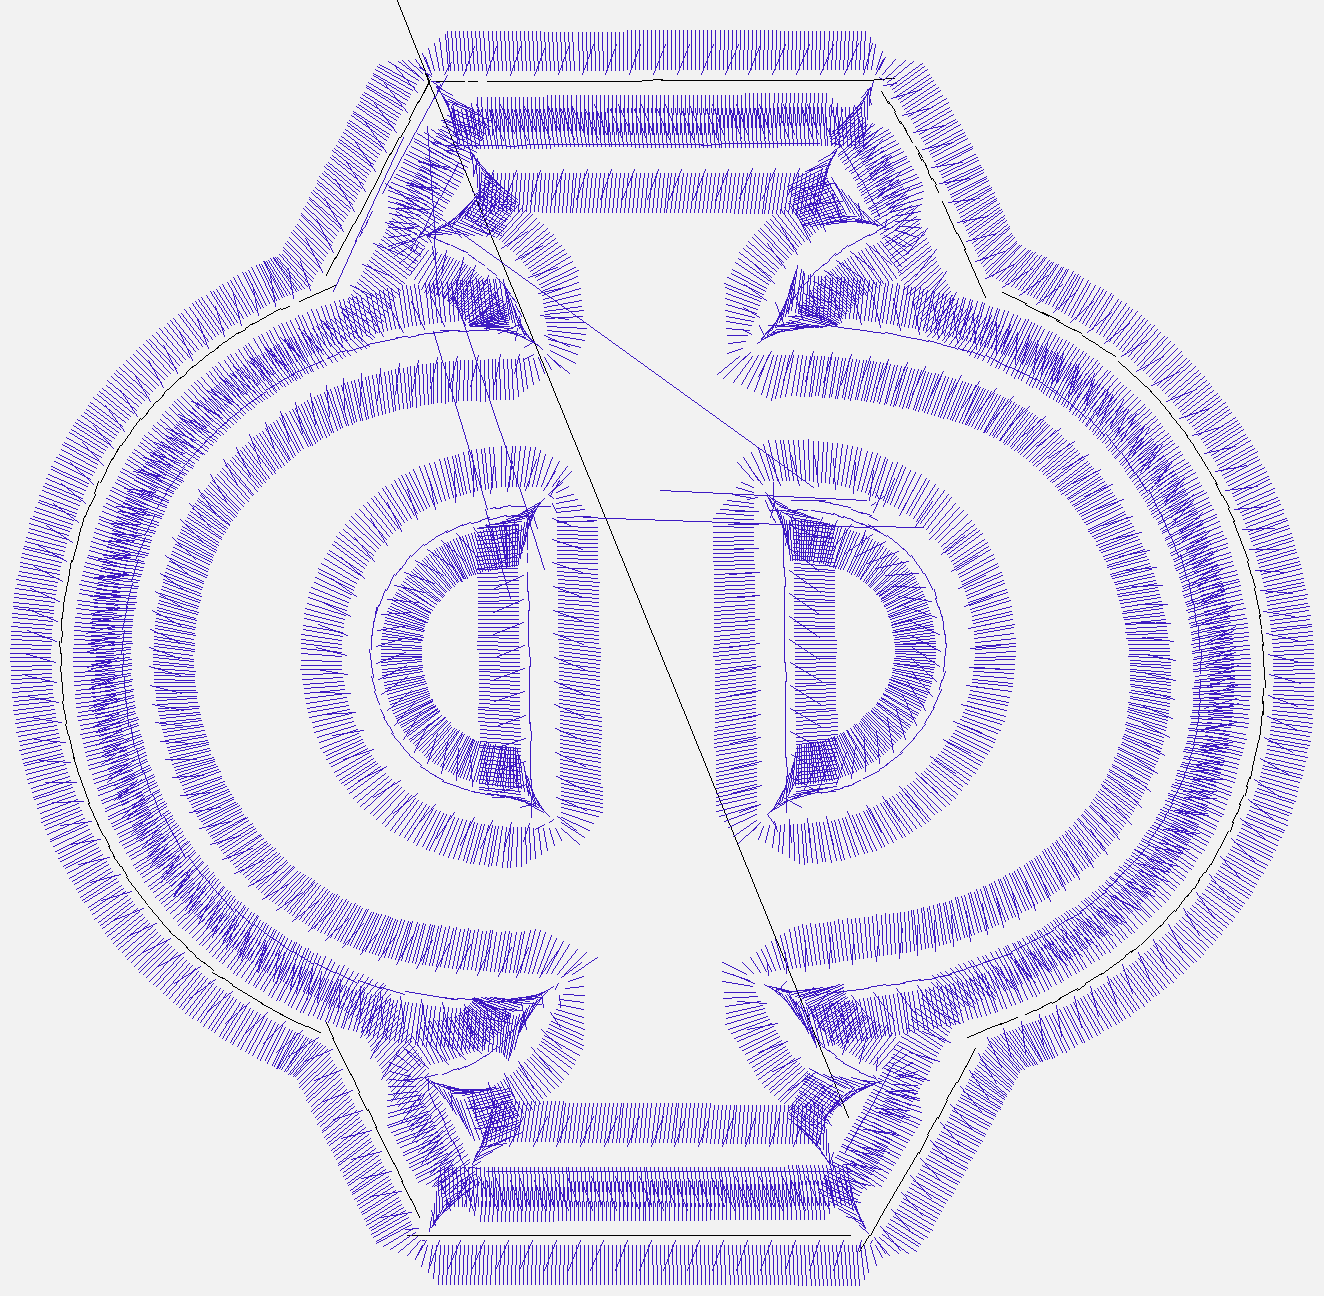
}As we can see, the main core of the code is to just do a bunch of bit shifting and basic arithmetic to accumulate our result. Once we have the result, we can use some drawing API to plot the points. Here are some cool outputs of what the dst2png converter can do:
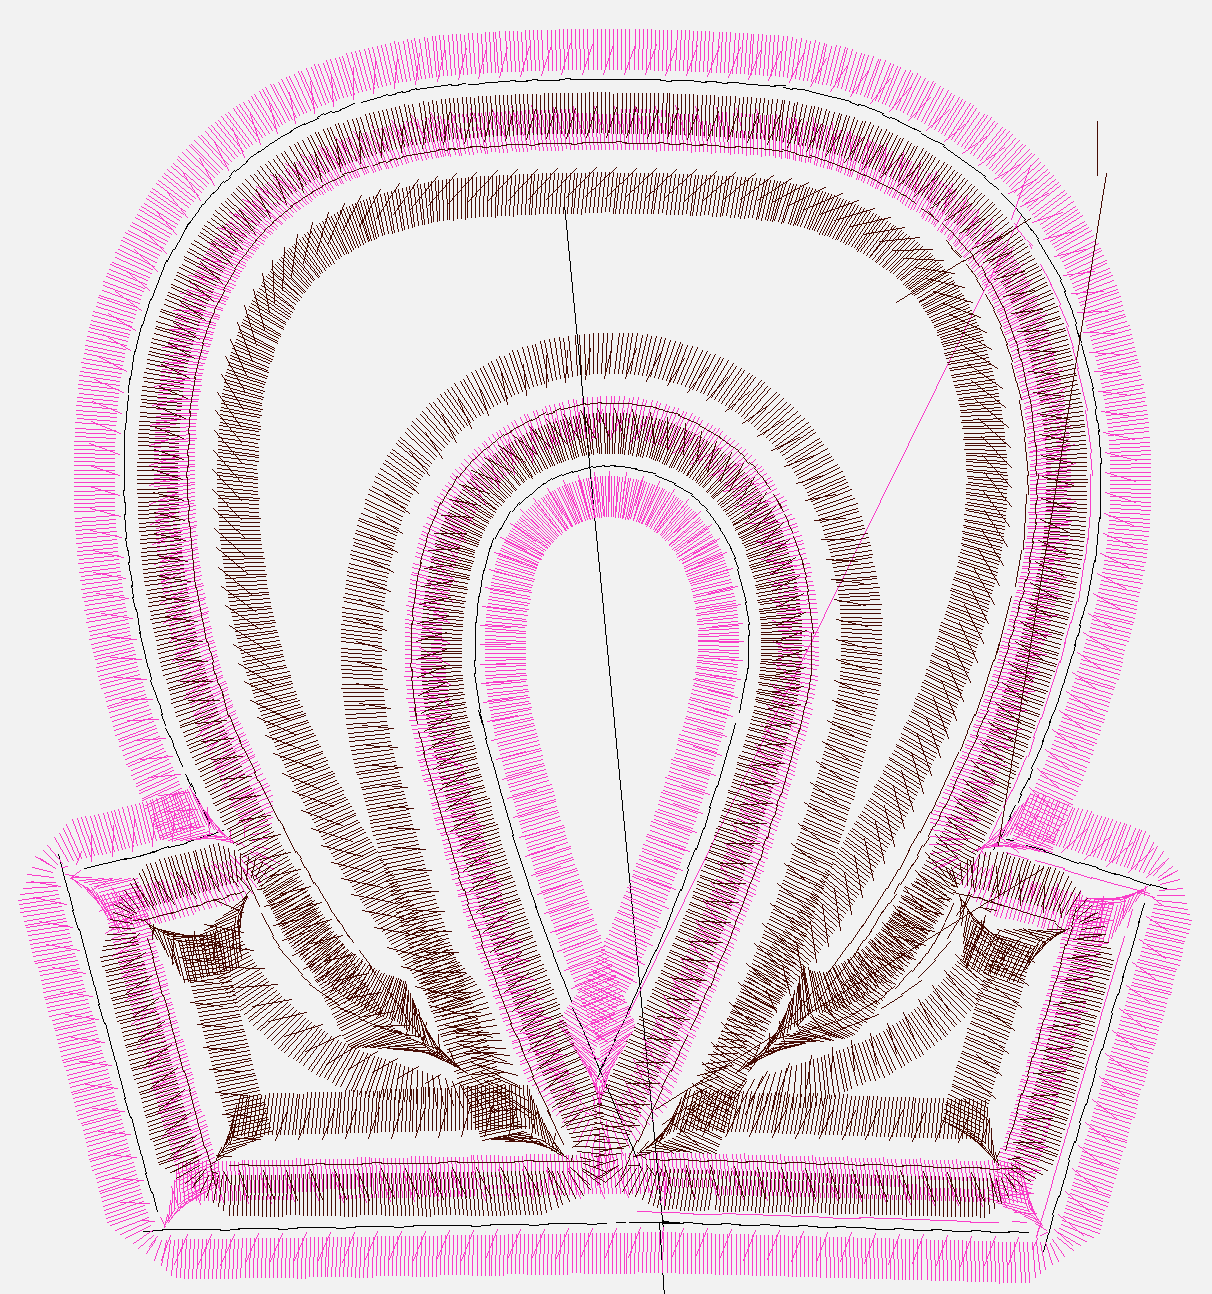
Conclusion
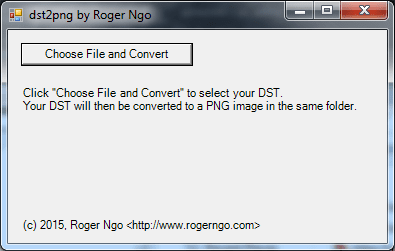
With just a little bit of information, we can effectively reverse engineer a proprietary format and make the data useful by writing tools to convert it into something we understand. In summary, we took a DST file which is proprietary to Tajima and basically converted it into a common PNG to be viewed by the world! You can download the program below:
https://rogerngo.com/article/article/downloads/dst2png.zip
Link to Git repository https://github.com/urbanspr1nter/dst2png